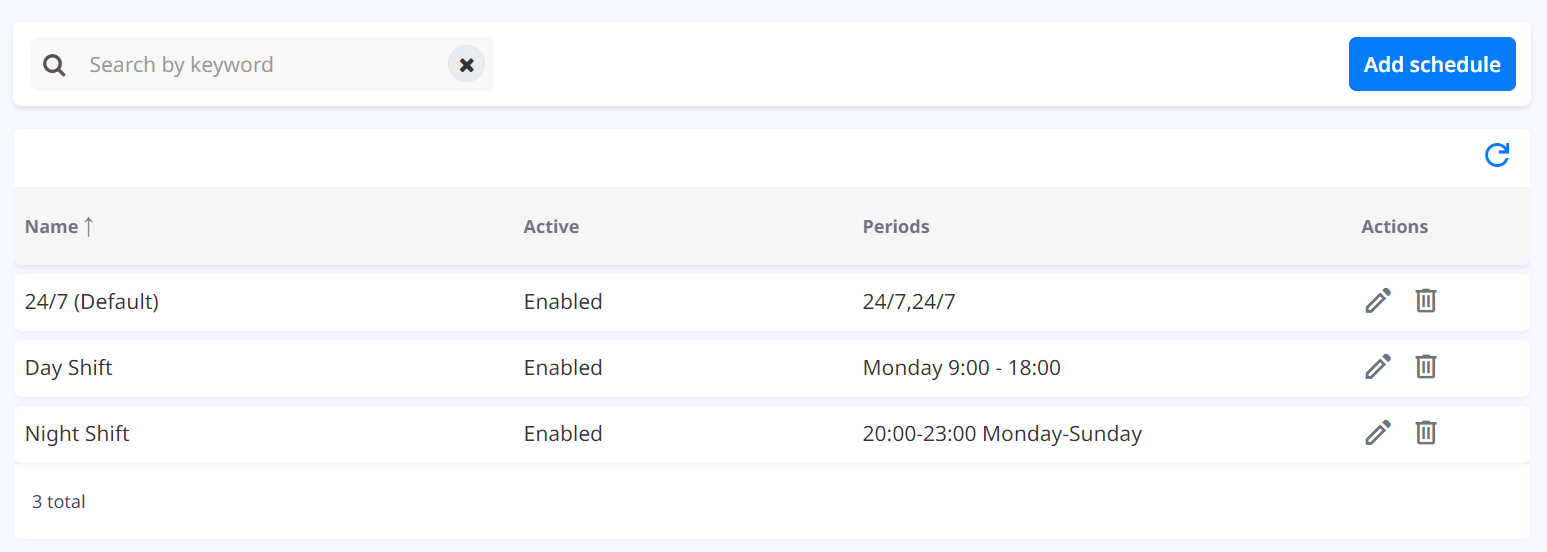
Schedules
In the Schedules configuration page, you can add, edit, and delete Schedules. It allows users to manage schedules for sending notifications to recipient groups. Schedules are used to specify the time periods during which notifications should be sent to the selected recipient groups.
Add schedule
If you click the “Add schedule” button 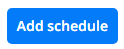 , “Add schedule” popup is opened.
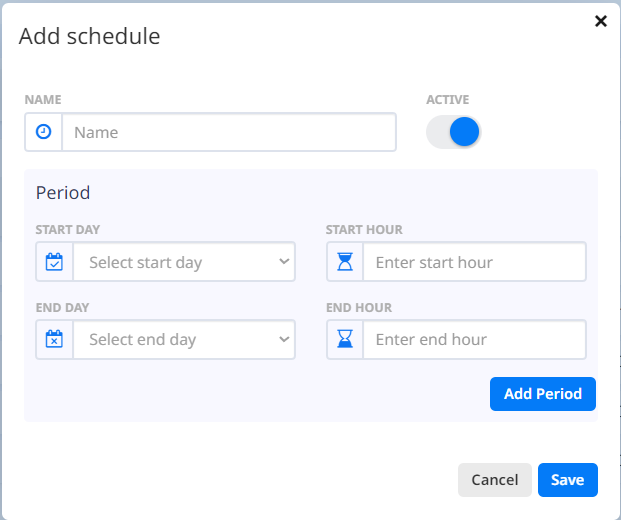
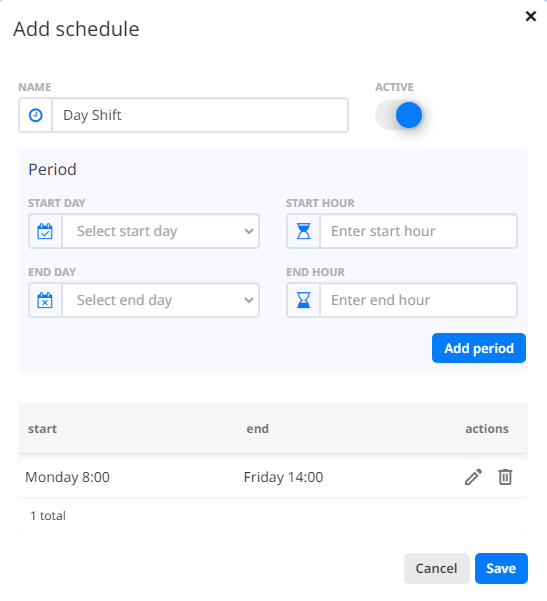
To create a new schedule, you must fill in the following information: “NAME”, “START DAY”, “START HOUR”, “END DAY” and “END HOUR”. Once you have those fields populated, click on “Add period” button  and your period table will be displayed. Under “Actions” from the period table, you can edit and delete the period.
In the top right corner of the popup window, there is a toggle button
and your period table will be displayed. Under “Actions” from the period table, you can edit and delete the period.
In the top right corner of the popup window, there is a toggle button  which indicates whether the schedule is enabled or disabled. If the toggle button is on, the schedule will be enabled, and the notifications will only be sent to the recipient group according to the period configuration. If the toggle button is off, the schedule will be disabled, and the notifications will be sent to the recipient group regardless of the period configuration.
After you are done configuring the schedule, click on “Save” button  to create the schedule, or “Cancel” button
  to discard the configuration.
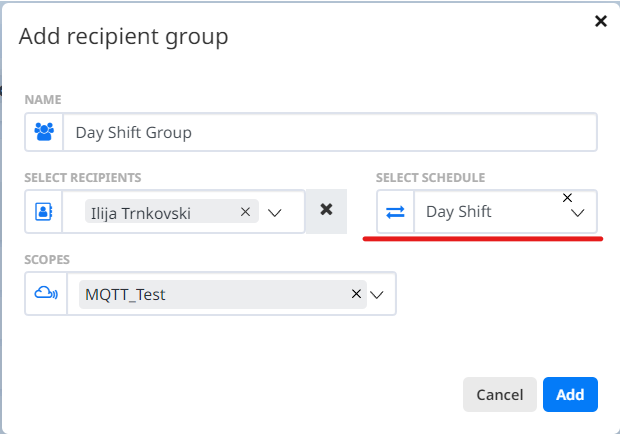
The created schedules can be used when creating a recipient group. In the “Add recipient group” popup window, click on “SELECT SCHEDULE” drop-down menu to select a schedule.
Edit schedule
You can edit a schedule by clicking the “Edit” button  after which a filled form will appear in which you can make the changes.
Delete schedule
To delete a schedule, simply click on the “Delete” button ![]() and click on the “Yes” button from the confirmation window.
and click on the “Yes” button from the confirmation window.